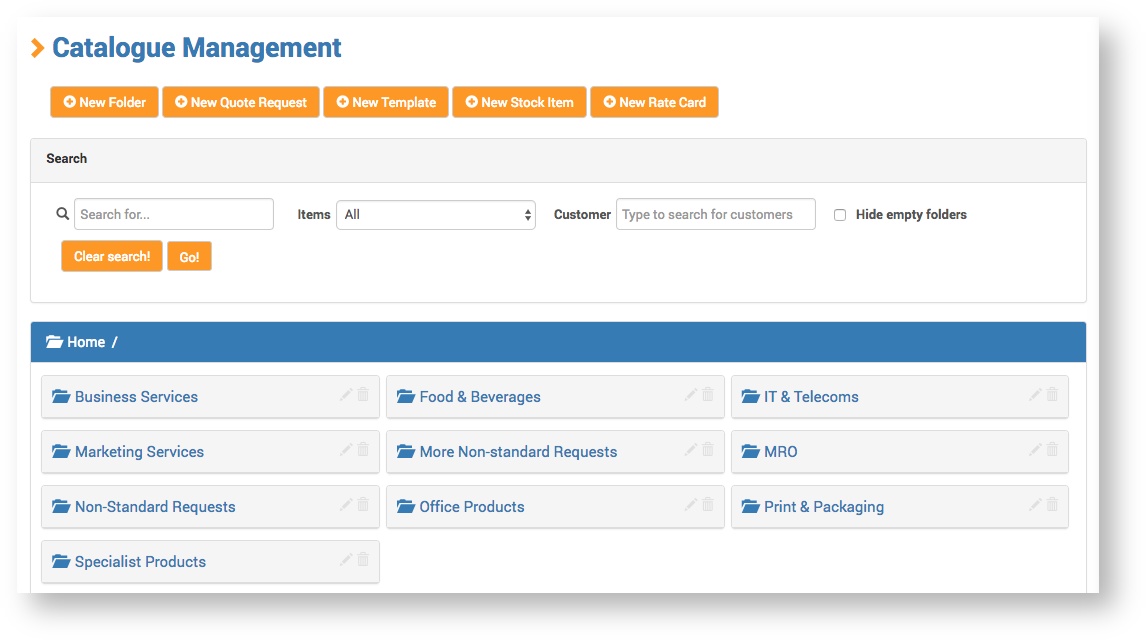
Catalogue Management
- Kevin O'Brien (Unlicensed)
- Kasia Czwarkiel (Unlicensed)
This is where all aspects of a Customer's catalogue can be configured.
Create / Edit a Folder
To create a new folder, click the New Folder button.

To edit an existing folder, click the Edit icon on the folder.

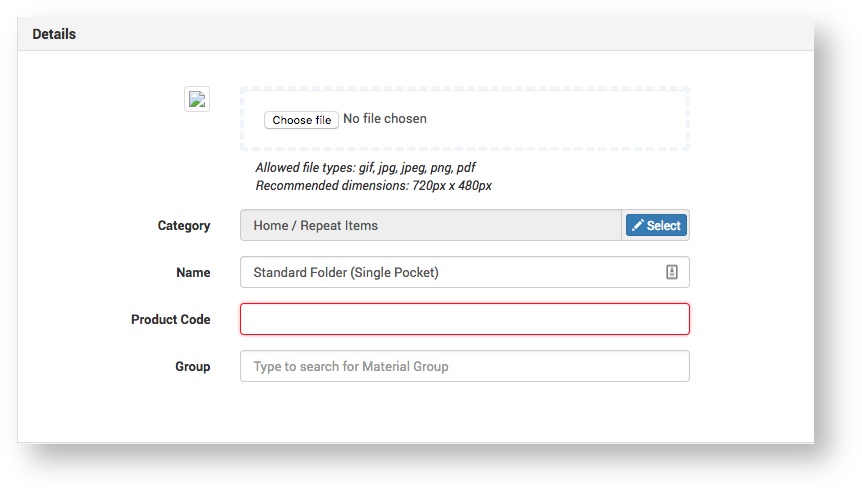
The Details form displays:
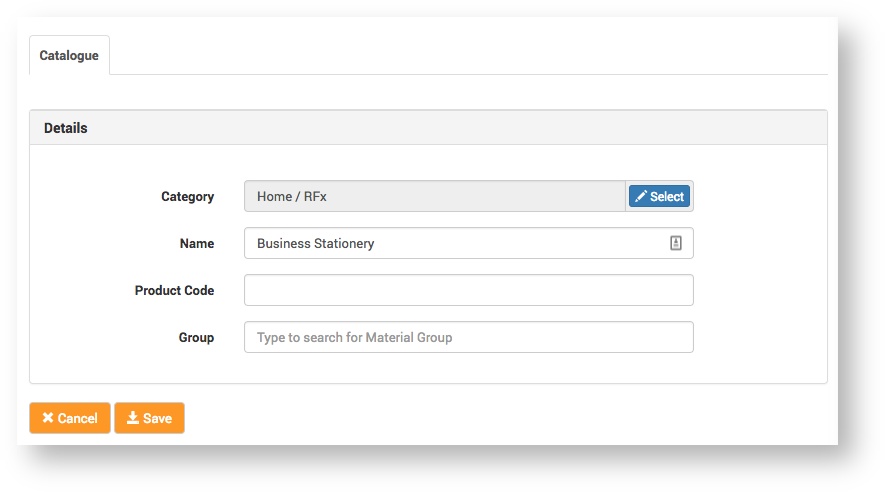
Complete the form fields:
| Field | Description |
|---|---|
| Category |
Select the category you want the folder to fall under.
|
| Name | Enter the name you want the folder to have, e.g.
|
| Product Code | Enter a product code, if required. This is for internal tracking purposes only. It does not display on the folder in the Customer Catalogue. |

Click the Save button.
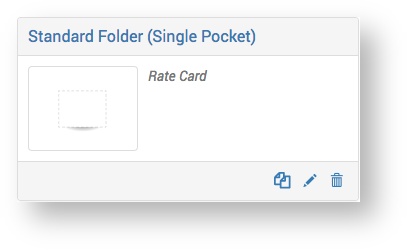
The new folder displays with the other folders on the Catalogue Management page.
Create / Edit a Quote Request
To create a new Quote Request, click the New Quote Request button.

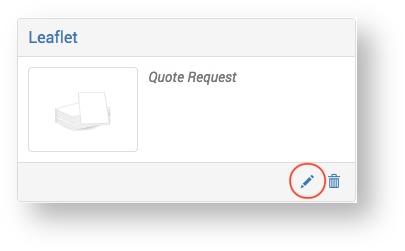
To edit an existing Quote Request, click the Edit icon on the Quote Request
The New / Edit <Quote Request type> page displays.
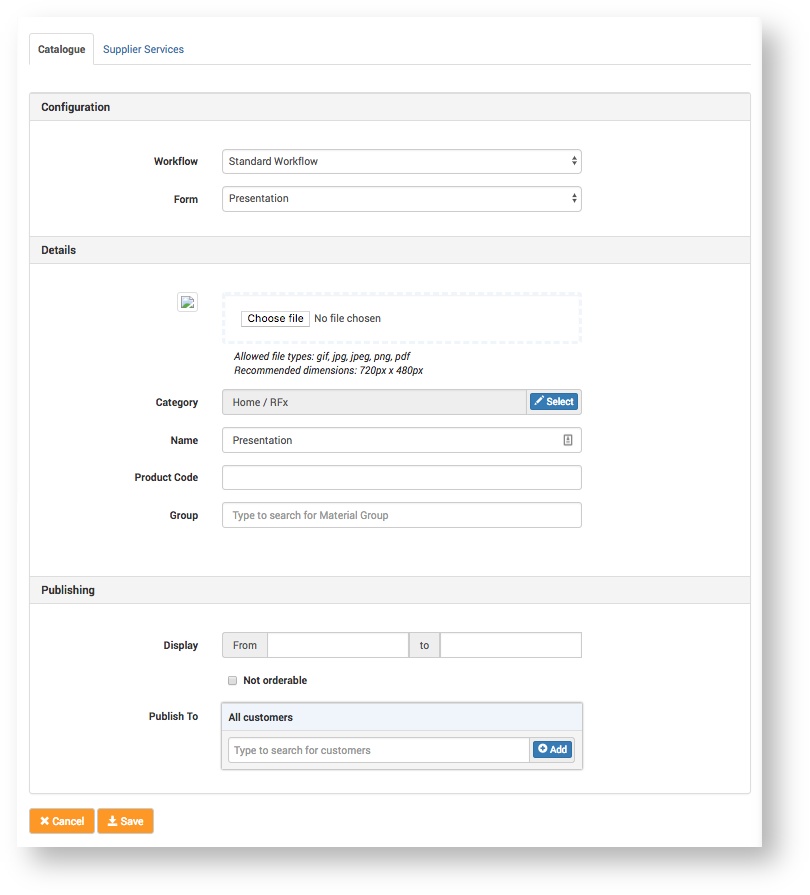
Catalogue
Configuration
Details
| Field | Description |
|---|---|
| Image | Click Choose file and select a product image to upload.
|
| Category | Select the category you want the folder to fall under.
|
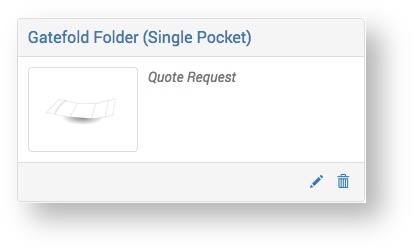
| Name | Enter the name you want the Quote Request product to have. For example 'Gatefold Folder (Single Pocket) in the image example above. |
| Product Code | Enter a product code, if required. If entered, the code will display in front of the Quote Request Product name. For example, in front of 'Gatefold Folder (Single Pocket) in the image example above. |
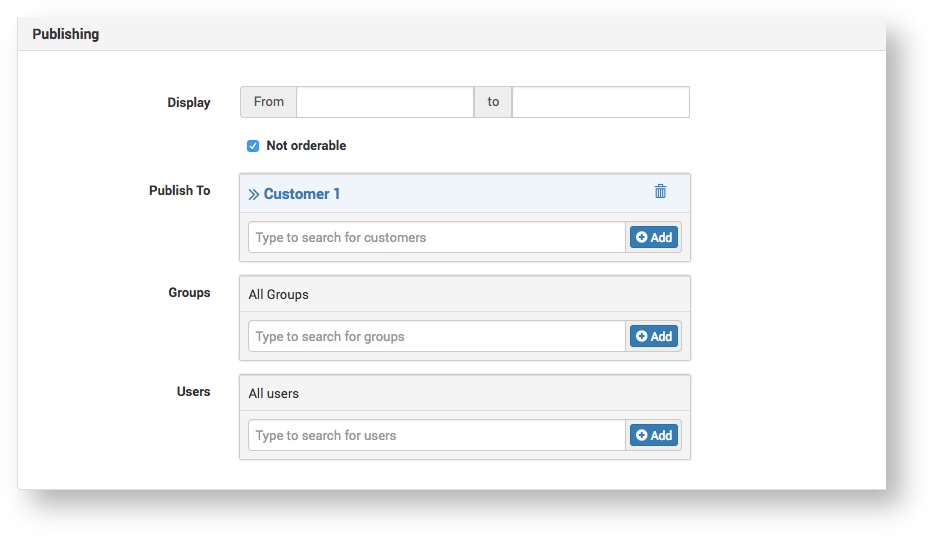
Publishing
| Field | Description |
|---|---|
| Display | Set the time period that you want the Quote Request product to be available in the Customer Portal. This can be left unset if you don't want to set a time limit. |
| Not orderable | Select this option if you don't want Customers to be able to order the Quote Request product. This is useful, for example, while the Quote Request type is in the process of being configured. |
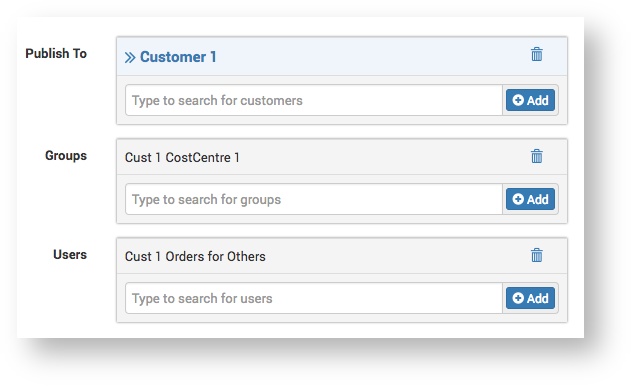
| Publish to | Here you can set the Customers / Customer Users you want to be able to access the Quote Request type in the Customer Portal.
If only a Customer is selected, the Quote Request type will be published (made accessible to) to all Customer Users in the Customer organisation. Adding Customer Groups will restrict publication to only those Groups. Adding Customer Users will further restrict publication to only those Users.
'Groups' refers to sub-divisions of end-users within a Customer’s organisation. The Service Provider can create such user groups in the system for the purpose of managing reporting, invoicing and access rights within the system.
|

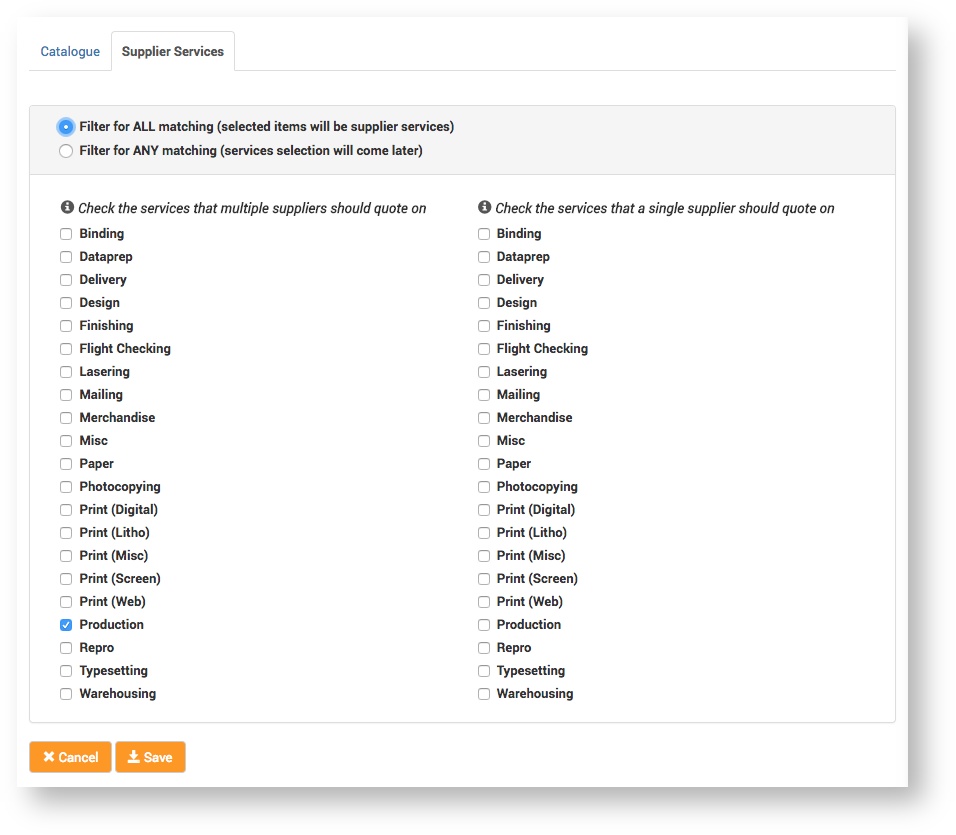
Supplier Services
This is where the Service Provider can select the services that a Supplier will need to quote for on the Quote Request type.
In a Quote Request Project workflow, when the Service Provider selects Suppliers to send the Quote Request to, Suppliers providing the services set here will be listed as selectable options. The Service Provider is not limited to these Suppliers, however, other services / Suppliers can be selected when creating a Quote Request for a Customer.
For more information see Service Provider selects Suppliers.
Create / Edit a Rate Card
To create a new Rate Card, click the New Rate Card button.

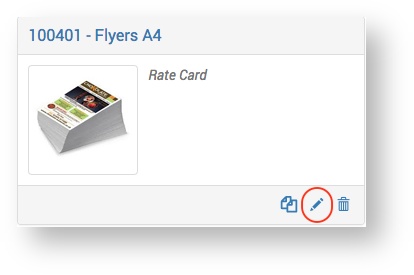
To edit an existing Rate Card, click the Edit icon on the Rate Card.
The New / Edit <Rate Card type> page displays.
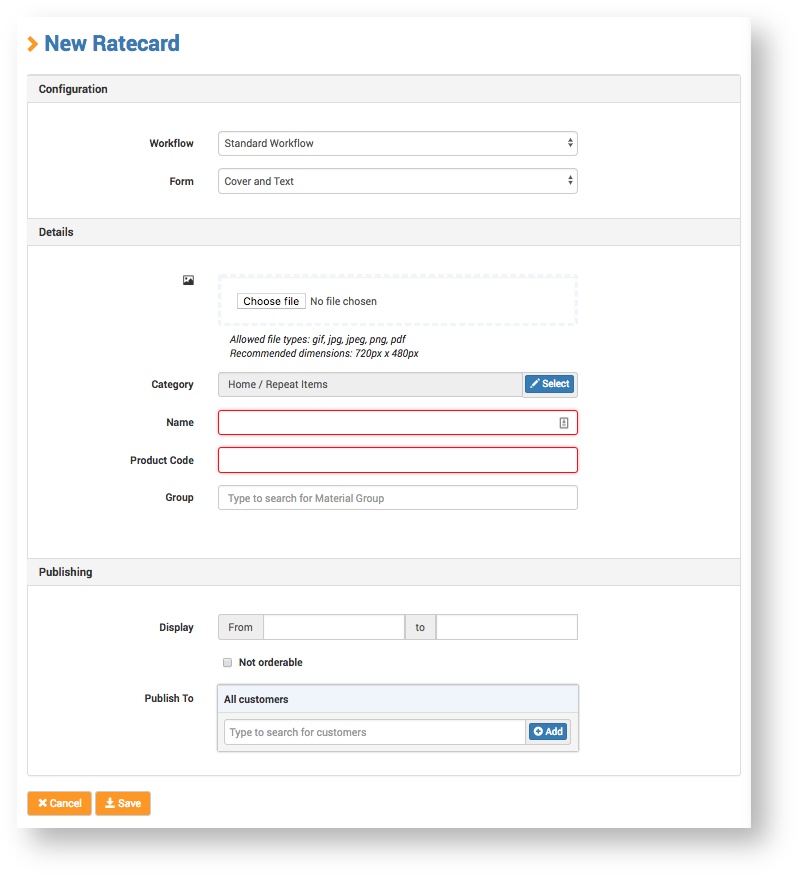
Catalogue
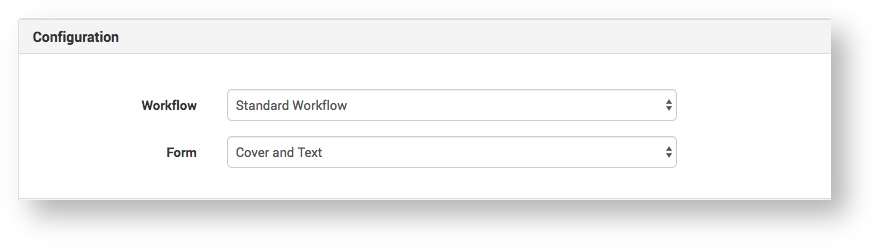
Configuration
| Field | Description |
|---|---|
| Workflow | Select the Project workflow that the Rate Card should follow. Standard Workflow will be the only option available unless you have configured other workflows. For more information on workflows see Create Workflow. |
| Form | Select the product specification Form for the Rate Card type. |
Details
| Field | Description |
|---|---|
| Image | Click Choose file and select a product image to upload.
|
| Category | Select the category you want the folder to fall under.
|
| Name | Give the Rate Card a concise, descriptive name so Customers can easily identify it. For example 'Standard Folder (Single Pocket) in the image example above. |
| Product Code | Enter a product code, if required. If entered, the code will display in front of the Rate Card product name. For example, in front of 'Standard Folder (Single Pocket) in the image example above. |
Publishing
| Field | Description |
|---|---|
| Display | Set the time period that you want the Rate Card product to be available in the Customer Portal. This can be left unset if you don't want to set a time limit. |
| Not orderable | Select this option if you don't want Customers to be able to order the Rate Card product. Tip > Setting the Display date in the future will also make the Rate Card invisible until that date. |
| Publish to | Here you can set the Customers / Customer Users you want to be able to access the Rate Card type in the Customer Portal.
Just selecting a Customer will publish the Rate Card type to all Customer Users in the Customer organisation. Adding Customer Groups and Users will restrict publication to only those Groups and Users. |
Specification
Complete the Rate Card Specification fields as required.
Different types of product have different types of specification. For example, a business card specification will include configurable features like colours on front and back, material type and weight, and matt or gloss finish. In contrast, the specification for a bound booklet will include features like the cover size, number of pages, and bindings. Non-print related products will, of course, have even more varied specifications. All product specifications are set using simple input fields and such as the following:
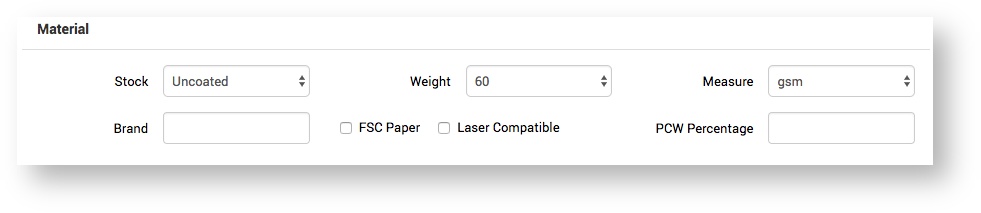
Due to the wide range of different product specifications, they are not described here. It should simply be a matter of entering the sizes, colours and other features - as specified in the Customers' Quote Request - in the clearly labelled fields.
Options
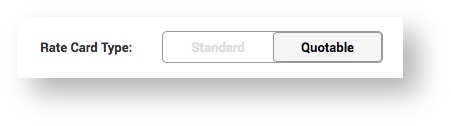
Rate Card Type: Standard / Quotable
| Option | Description |
|---|---|
| Standard | Creates a normal Rate Card. |
| Quotable | Creates a product specification for which Customers can select a quantity and get a quote. This is a quick way for the Service Provider to make a product specification available to a Customer, for which they, in turn, can request a quote. |
Add Options
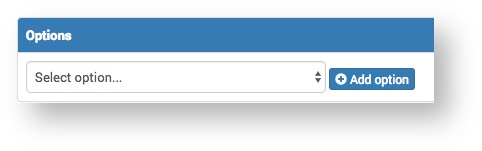
Options selected here will be available to the Customer when they order the Rate Card. They will allow the Customer to override the setting in the specification. For example, if colours have been set in the specification and the colours option is provided, the Customer can change the colours when they order the Rate Card.
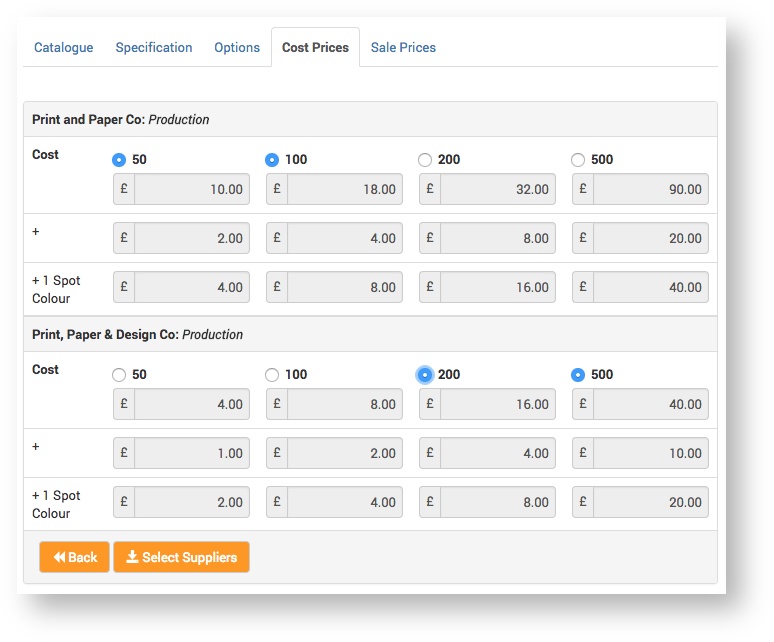
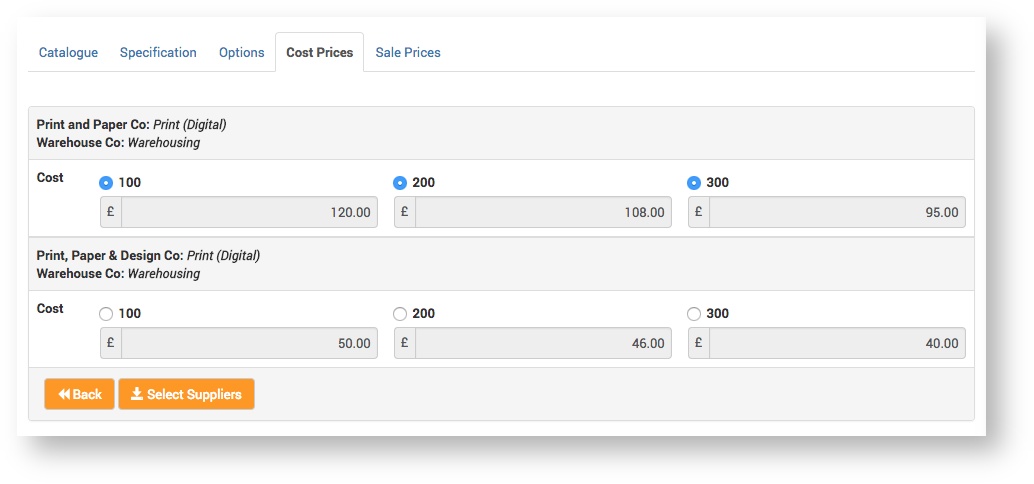
Cost prices
This is where the Service Provider can set the Supplier and cost prices for each service on the Rate Card.
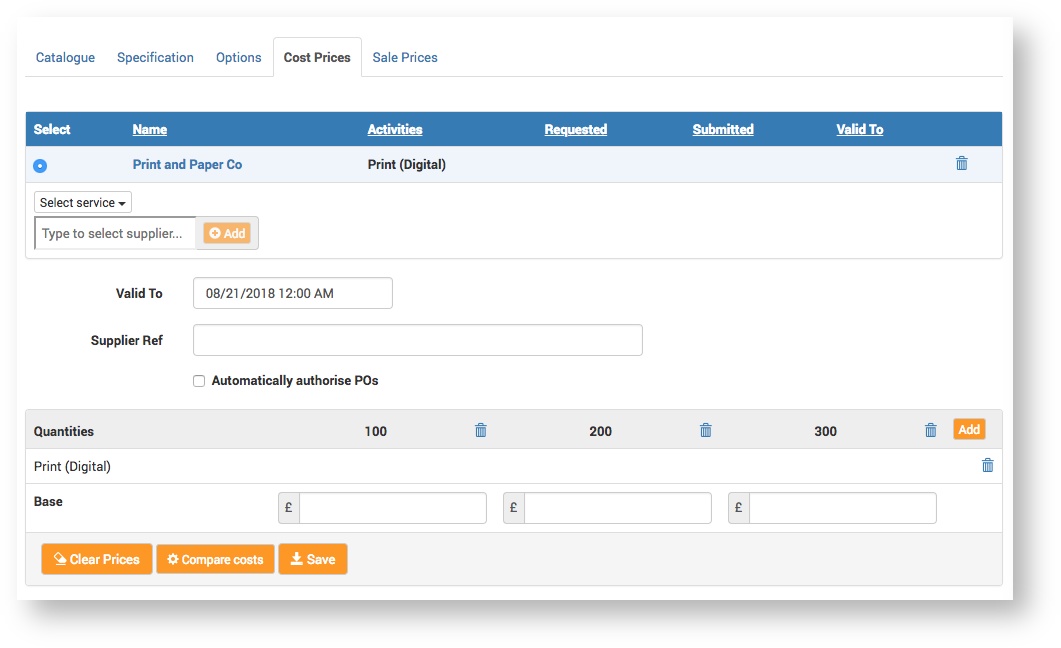
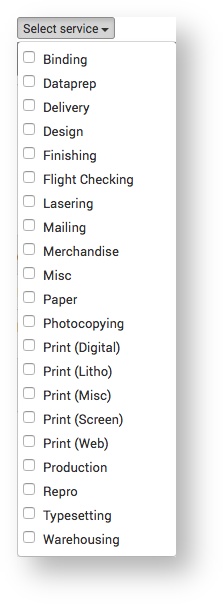
Select the service from the drop-down list.
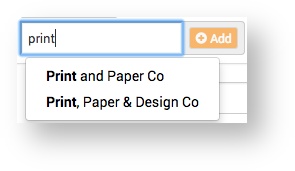
Start typing the Supplier name in the Type to select supplier input field, then select it when it appears.
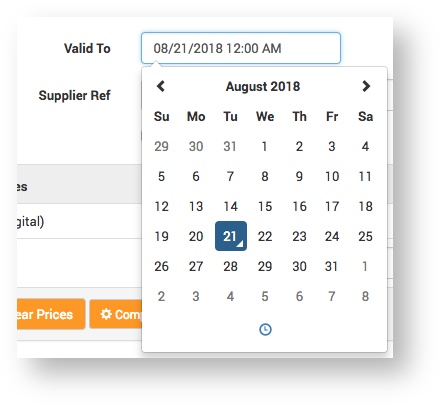
Enter the date the Cost Prices are Valid to.
- If provided, enter the Supplier reference in the Supplier Ref field.
This is a product reference provided by the Supplier. Enter the cost / base prices per quantity.
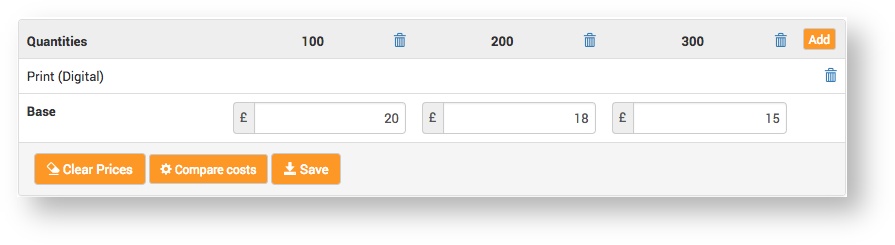
- Click the Save button.
Optional Functions
| Function | Description |
|---|---|
| Automatically authorise POs | The Service Provider should select this if they want the Customer's Rate Card purchase orders to be automatically authorised rather than an Administrator having to automatically authorise them. |
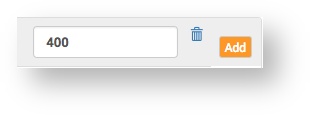
| Add quantities | A Rate Card has three priced quantities by default. More can be added using the Add button. They can be deleted by clicking the delete icon
|
| Clear the prices you have entered. |
| Opens a new page with the costs-per-quantity for each Supplier displayed side-by-side for comparison.
|
Sale Prices
This is where Rate Card Sale Prices can be set for all Customers or per Customer. This involves specifying the markup on the cost prices.
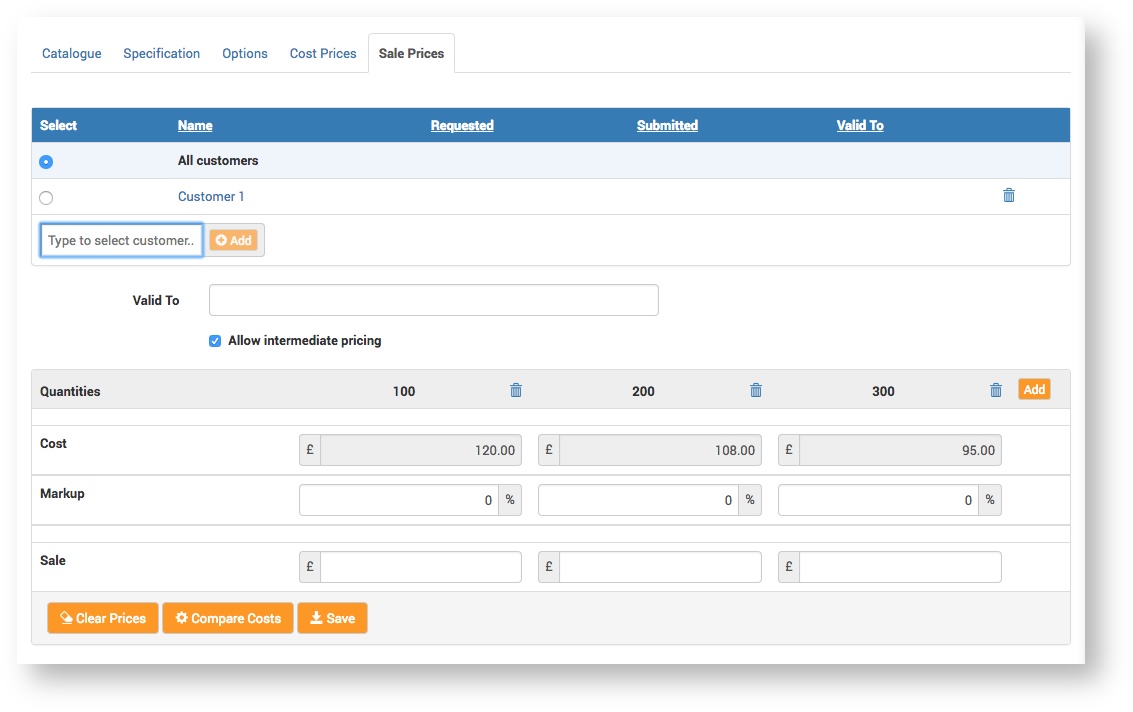
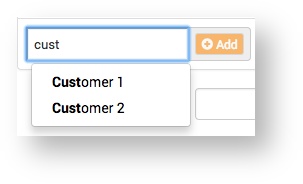
Start typing the Customer name in the Type to select customer input field, then select it when it appears.
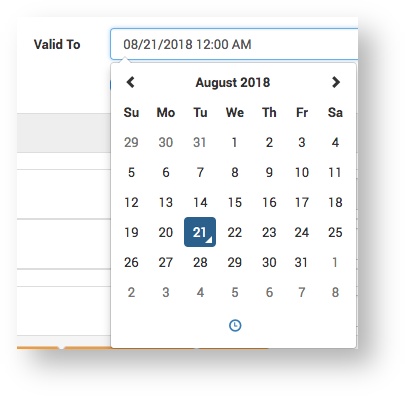
Enter the date the Sale Prices are Valid to.
Enter the Markup for each Cost price.
The Sale price is automatically calculated by applying the markup to the cost price.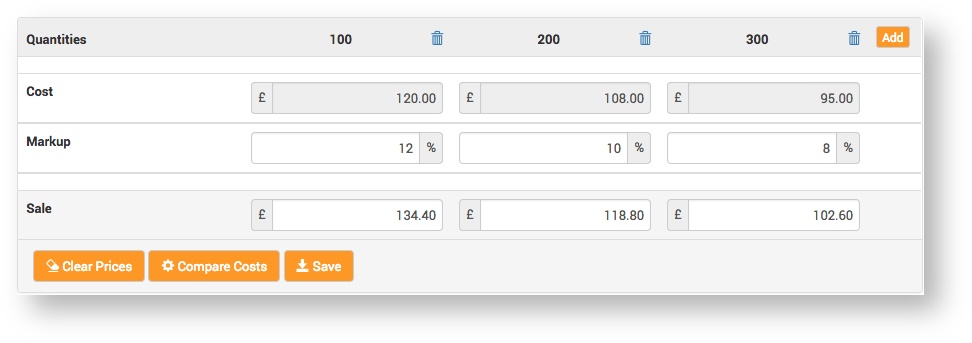
Applying markup is not mandatory. If it is not applied, the Customer(s) will be charged the cost price..
- Click the Save button.
Optional Functions
| Function | Description |
|---|---|
| Allow intermediate pricing | Select whether intermediate pricing is allowed. For more information see 2.0 How do I calculate Rate Card Intermediate Quantities?. |
| Add quantities | A Rate Card has three priced quantities by default. More can be added using the Add button. They can be deleted by clicking the delete icon |
| Clears the prices you have entered. | |
 | Opens a new page with the costs-per-quantity for each Supplier displayed side-by-side for comparison.
Only Cost prices are compared, not Sale prices. |