Customers
- Kevin O'Brien (Unlicensed)
- Kasia Czwarkiel (Unlicensed)
The Service Provider can create new Customers and update existing ones on the Claritum system. The Customers will then be available for selection in Project workflows.
From the main menu, select Customers.
The Customers page opens.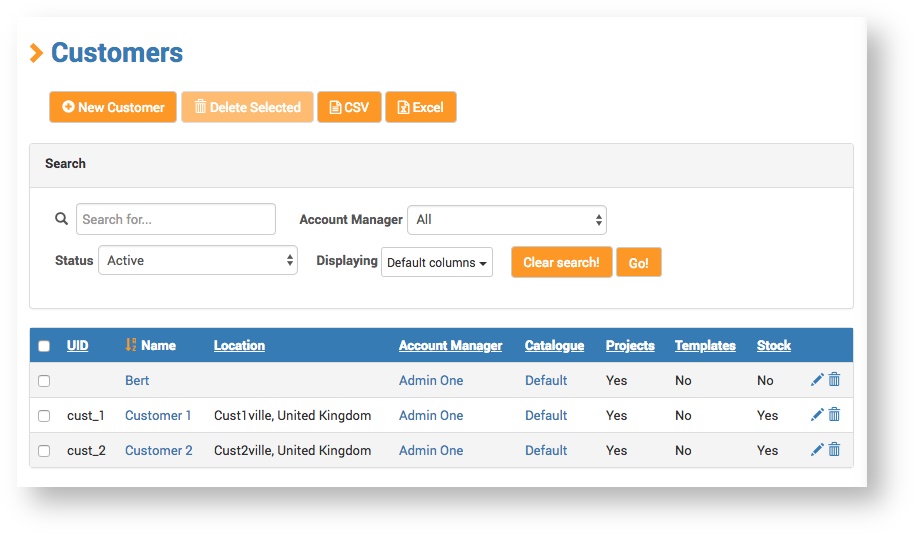
On the Customers page, click the New Customer button.
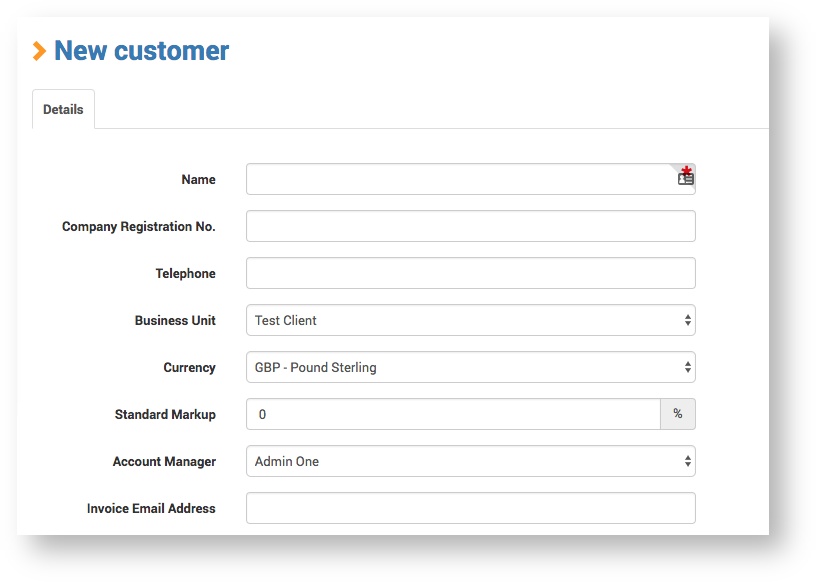
The New Customer > Details page opens.
Details
On the Details page, complete the required fields and click Save.
New Customer Details
Addresses
On the Addresses tab, click the Add address button.
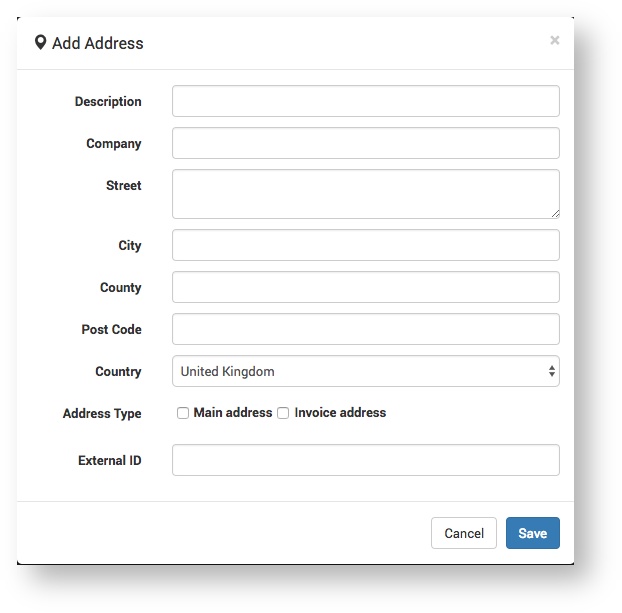

- Enter the address details and click Save.
The saved address(es) display.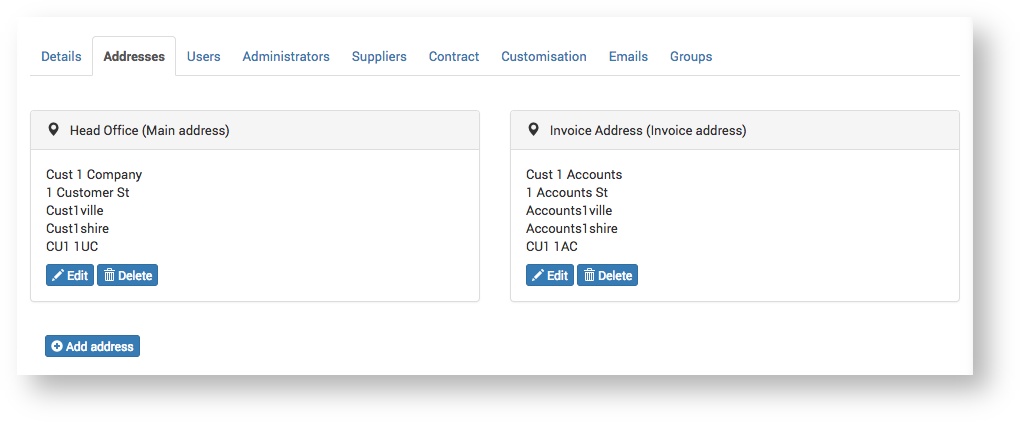
Users
This is where the Service Provider can add, edit and delete Customer Users, that is, Claritum system users within the Customer organisation.
- On the Users tab, click the New User button.
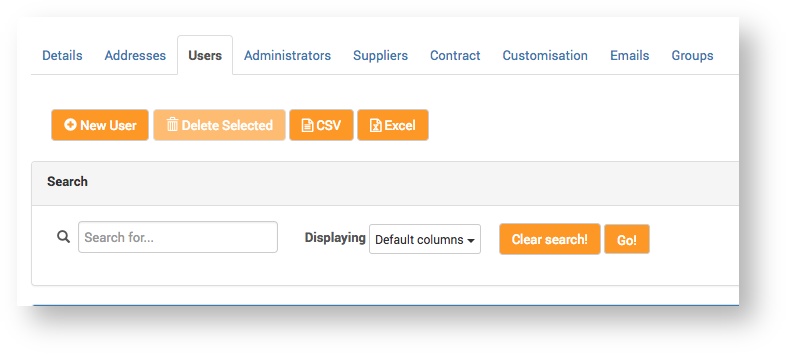
The Details page displays. On the Details page, complete the required fields and click Save.
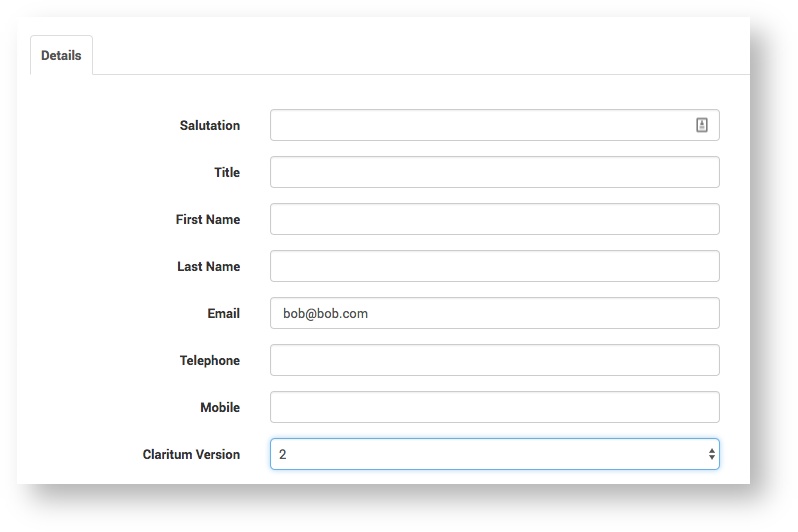
New Customer Details
The only mandatory fields are Email and Address. The other fields are to be completed at the discretion of the Service Provider. Some fields will be useful to one Service Provider, but not another. Fields can be easily edited after a Customer is created.- On the Notes page enter any additional information about the Customer User that isn't captured in the Details and Permissions fields.
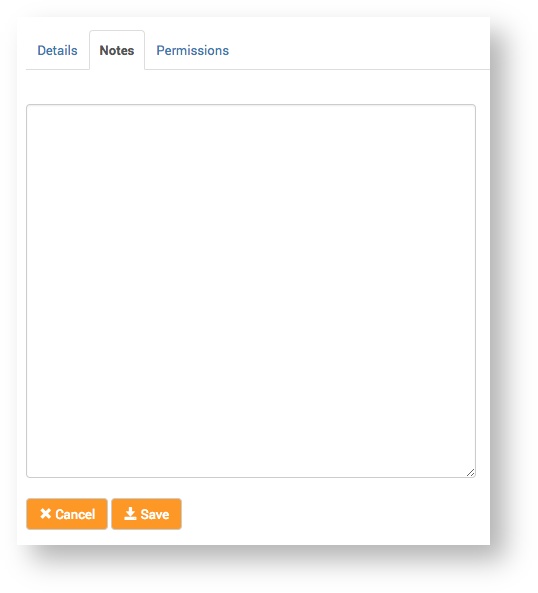
On the Permissions page set the users permissions.

Administrators
This page lists the Service Provider Administrators allocated to the Customer. Administrators can be added or removed.
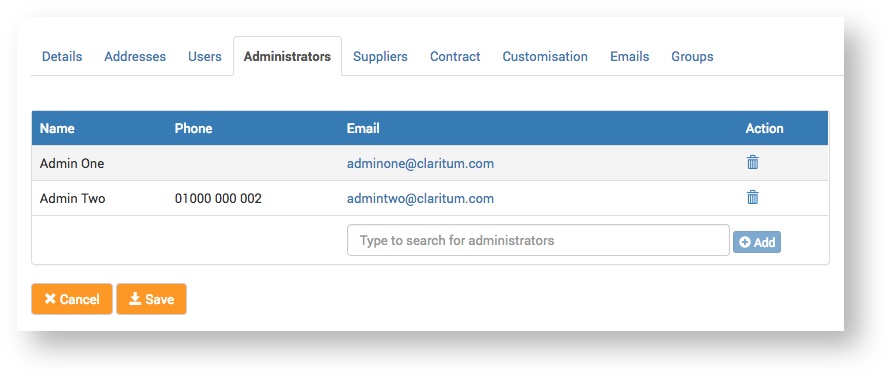
Depending on their permissions, an Administrator allocated to a Customer can view, create and edit their details and Projects.
For information about how to create and edit Administrators see Administrators.
Suppliers
This page allows you to select which Suppliers are linked to a Customer, and that can therefore be selected to deliver to them.
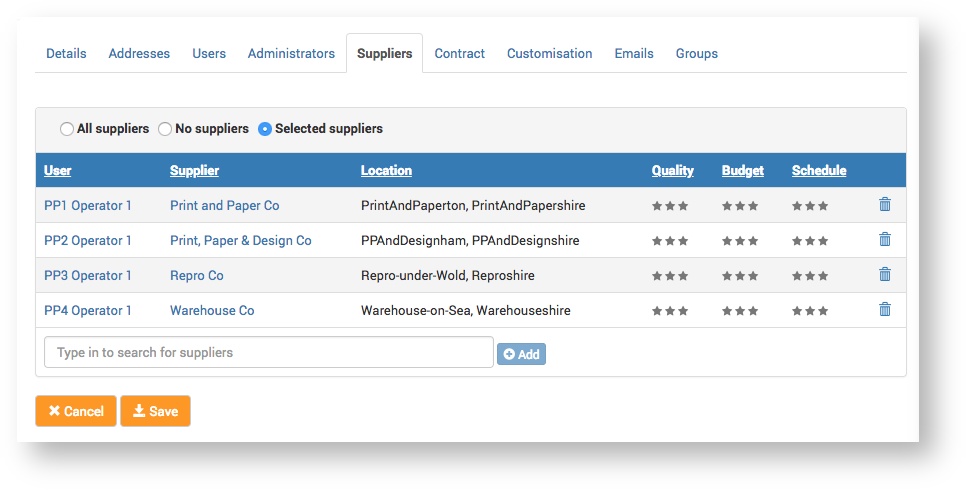
Clicking the User link (e.g. PP1 Operator 1 in the screenshot above) takes you to the Supplier User details that can be edited.
Clicking the Supplier link (e.g. Print and Paper Co in the screenshot above) takes you to the Supplier details that can be edited.
| Option | Description |
|---|---|
| All suppliers | All Suppliers on the system are displayed and can be linked to the Customer (by clicking Save). |
| No suppliers | No Suppliers are displayed and none can be linked to the Customer (by clicking Save). Tip > This might be needed if a Customer has been set up on the system, but not 'gone live' yet. |
| Selected suppliers | Selected Suppliers are displayed and linked to the Customer (by clicking Save). |
Contract
This page allows the Service Provider to configure the following Customer contract details:
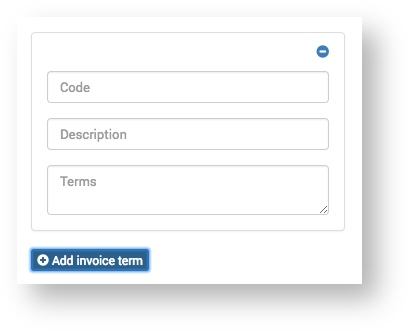
These are the terms you can select when issuing a Customer Invoice.
To create an invoice term, click the Add invoice term button and complete the fields.
| Field | Description |
|---|---|
| Code | Used when integrating with 3rd-party accounting packages. It shows on invoice exports and reporting. |
| Description | A free text field, but usually used for the number of days the Customer has to pay the invoice, e.g. "30 days". |
| Terms | Enter terms and conditions. These will appear on the invoice sent to the Customer. Example terms include:
|
Only text in the Description and Terms fields will appear on the Customer invoice.
Here you can create Order Reference Code fields that will display on the Sales Order page when you place an order.
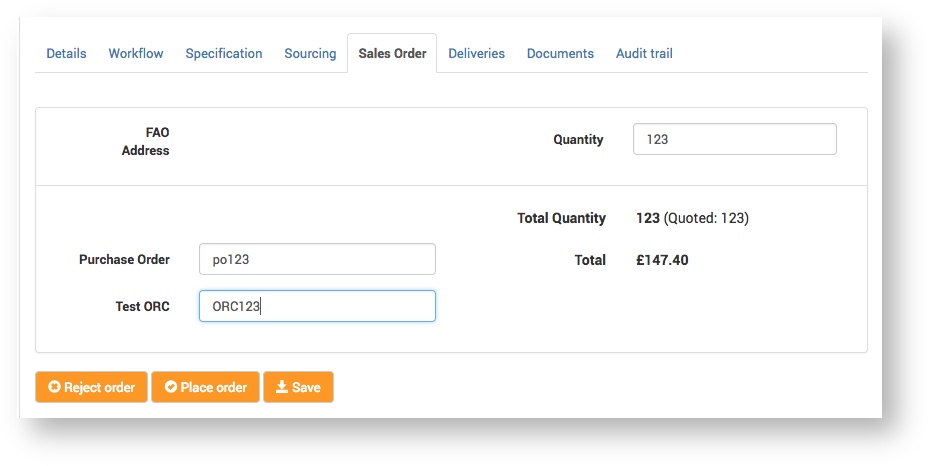
- To add a new order reference, click the Add order reference button:
A new order reference box will display.
- Select options as required.
| Option | Description |
|---|---|
| Mandatory | If checked, the administrator cannot place the order if an order reference hasn't been entered. |
| Customer Facing | If checked, the order reference appears on the Customer's Delivery Note, Customer Order Confirmation and Customer Invoice PDF documents. Also, the Customer User will be able to enter the Order Reference number on the Customer Catalogue on the Order Confirmation screen ( applicable only if the Customer Portal is configured). |
| Supplier Facing | If checked, the order reference appears on the Supplier Purchase Order and Supplier Invoice PDF documents. |
| Show on stock order | If checked, the order reference appears on the Stock Order |
| Show on project (part) | If not checked, the order reference input field will not appear on the Sales Order page. |
| Selectable pre-order | If checked, the Service Provider can enter an Order Reference Code before the order has been placed on the Project. |
| Can be edited | If checked, the Service Provider can edit the Order Reference Code at any point after it was entered in the system. If unchecked, it cannot be changed after it's entered. |
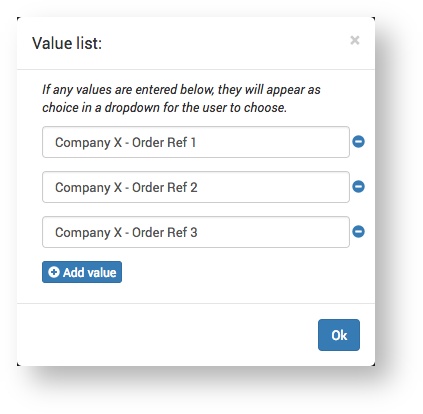
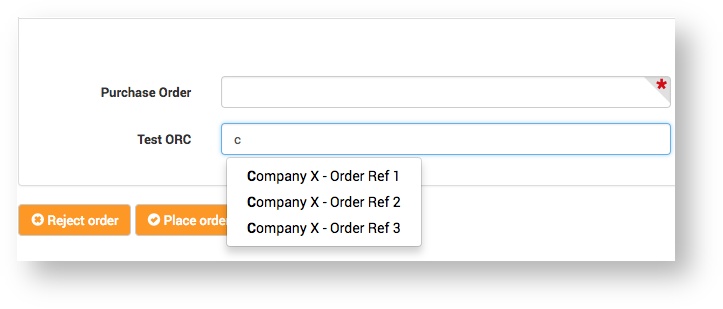
| Allows you to add pre-set values that display when you type the first letter. Adding these values:
means they appear as options you can select in the order reference field:
|
Here you can enter tax numbers that can be selected and included on Customer invoices.
Each Customer organisation will have one or more tax numbers.
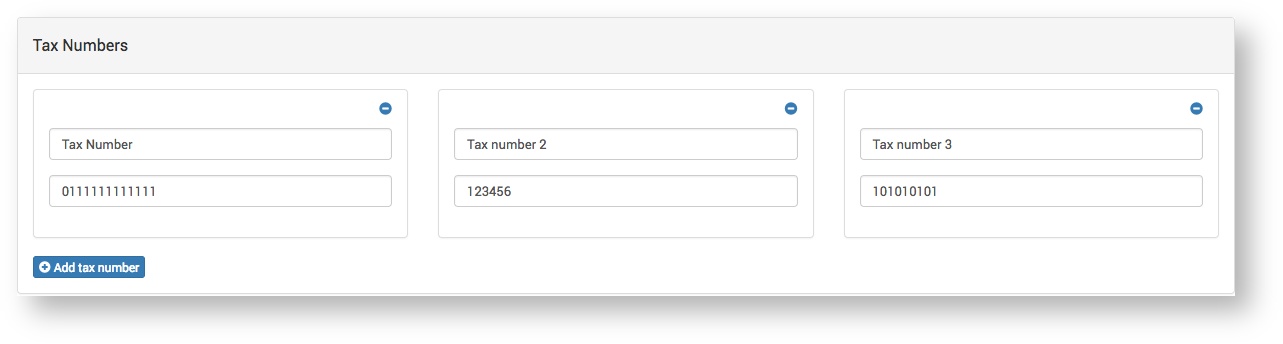
If more than one tax number is created, they will be available to choose when creating the Customer Invoice.
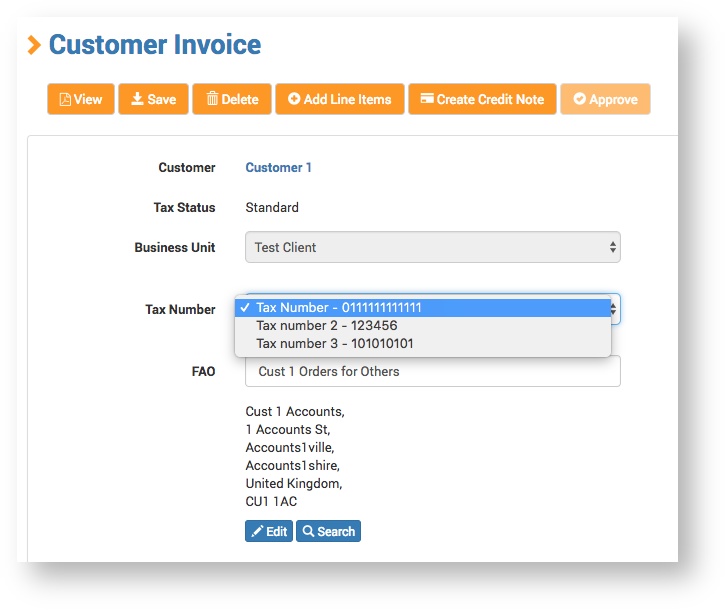
If only one tax number is created, it will be automatically set as the Tax Number and will not be editable.
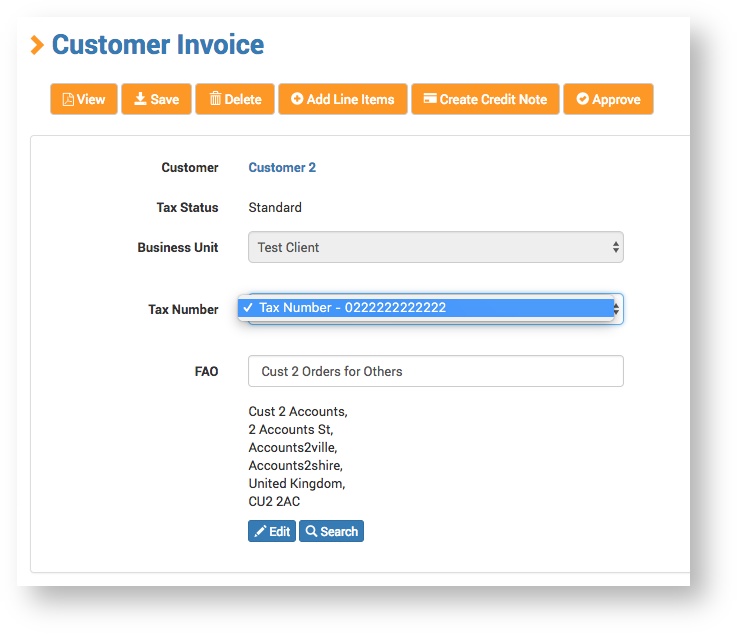
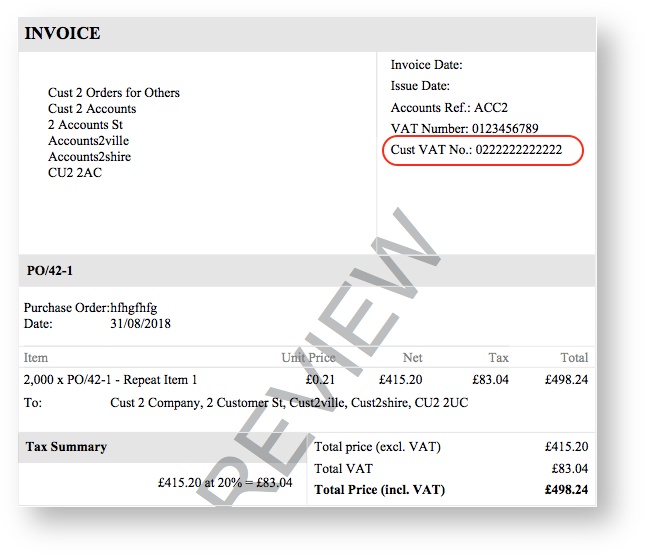
The Tax Number is shown on the Customer Invoice:
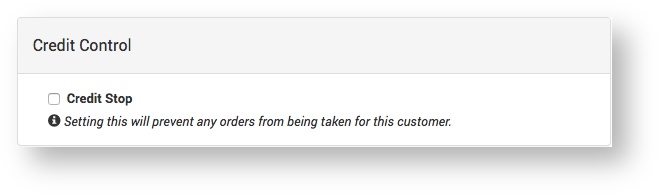
Here you can prevent any orders being taken for this Customer.
Tip > This could be selected when a new Customer has been set up on the system, but before they have 'gone live'.
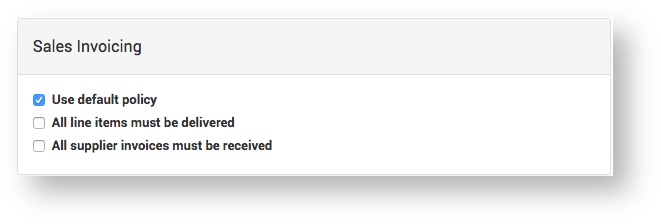
Here you can set your desired sales invoicing settings.
| Option | Description |
|---|---|
| Use default policy | The default sales invoicing policy is that there are no restrictions on when a Customer invoice can be issued. |
| All line items must be delivered | All Project Parts must be delivered before the Customer invoice can be issued. |
| All supplier invoices must be received | All Supplier invoices must be received before the Customer invoice can be issued. |
Customisation
This page allows the Service Provider to configure the following Customer stationery and system variables:
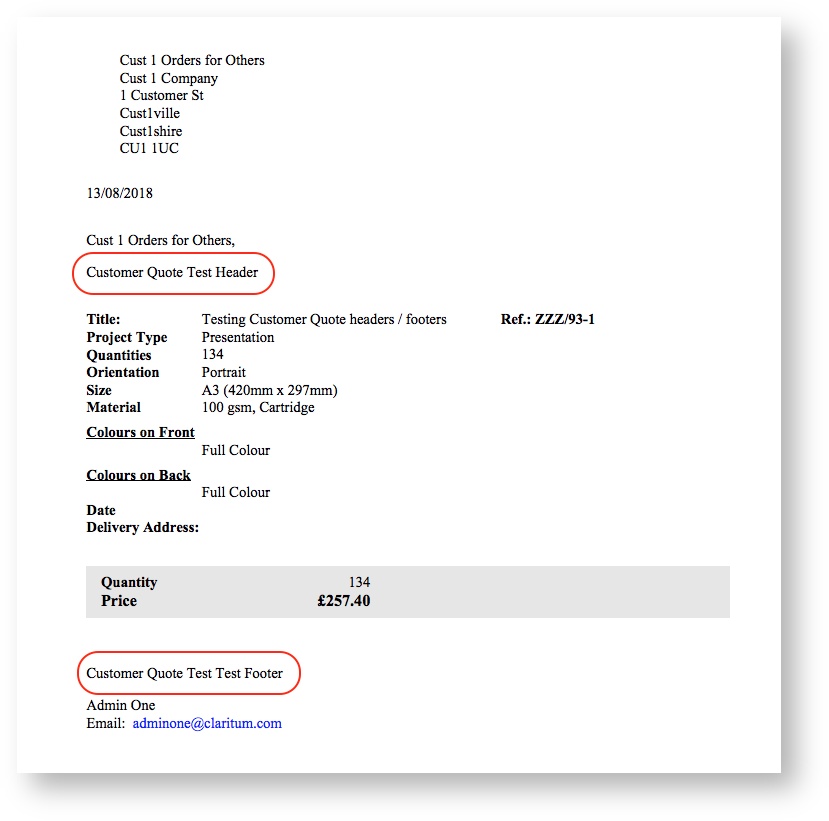
Here you can customise the Customer Quote headers and footers.
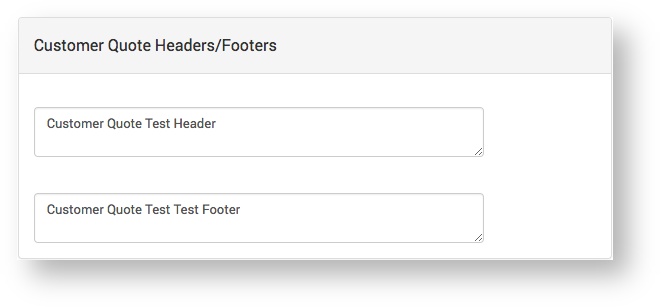
Here is how they display on the Customer Quote:
| Option | Description |
|---|---|
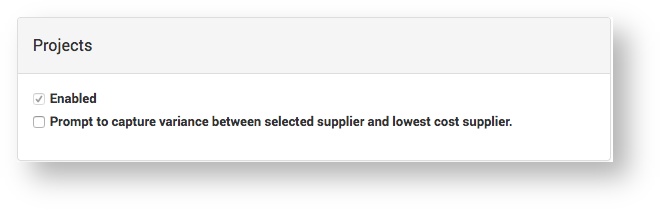
| Enabled | Use of Projects in the system is enabled by default. |
| Prompt to capture variance between selected supplier and lowest cost supplier | When a Service Provider user approves a Supplier PO, and it's not the |
Here is where you can select the stationery type you want for the Customer.
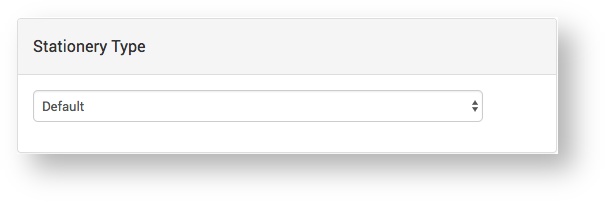
A stationery type is specific formatting and branding for a system-generated PDF document, such as a Customer Quote. You can create different stationery types for different document types and different Customers.
For more information see Stationery.
Groups
'Groups' refers to sub-divisions of end-users within a Customer’s organisation. The Service Provider can create such user groups in the system for the purpose of managing reporting, invoicing and access rights within the system.
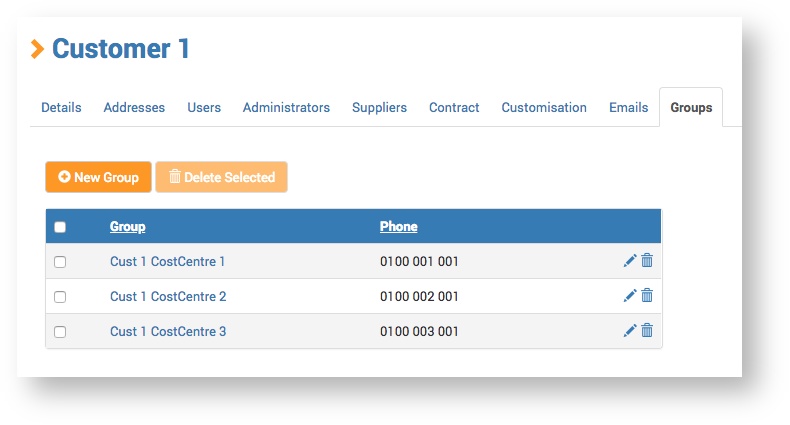
Create / Edit a Group
Click the New Group button.
The New Group form displays.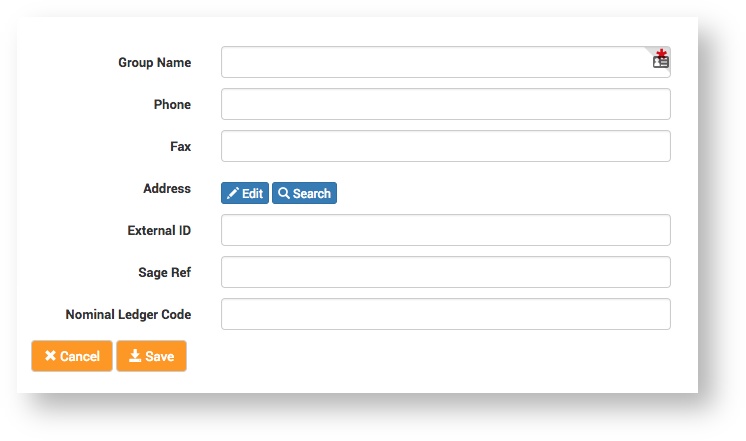
Complete all required fields.
Only Group Name is mandatory to create a Group.Field Description Group Name The name you want to use for the group. Phone Group point-of-contact phone number. Fax Group point-of-contact fax. Address Group point-of-contact address External ID Used for integrating with the Claritum system. Sage Ref If you export approved sales transactions (i.e. invoices) to an external Sage system, this field is used to identify the matching Customer record on that system. Nominal Ledger Code This may be used during reporting and exporting to external financial packages to assist in classifying Customer orders. - Click the Save button