Administrators
Kevin O'Brien (Unlicensed)
James Leeson (Unlicensed)
The Service Provider can create new Administrators and update existing ones on the Claritum system. An Administrator is a Service Provider employee who uses the Claritum system to manage Customer Projects.
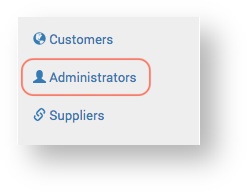
From the main menu, select Administrators.
 The Administrators page displays
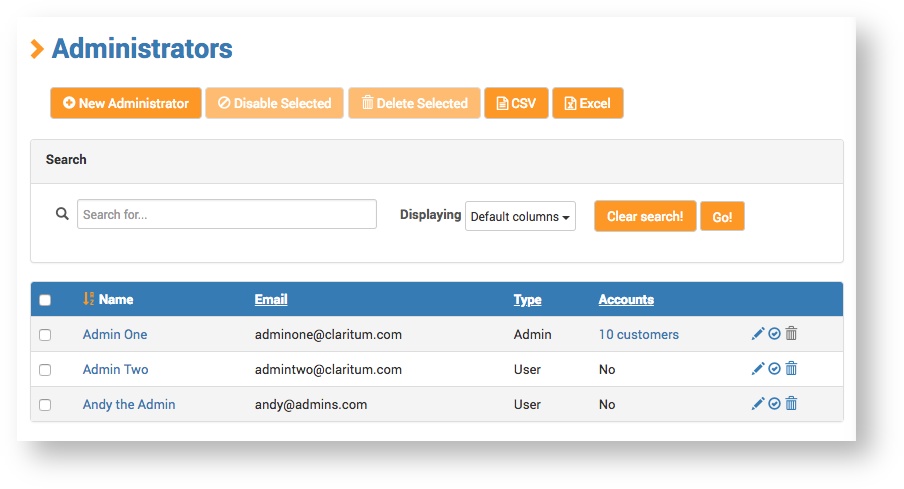
- Click the New Administrator button.

Details
On the Details page, complete the required fields and click Save.
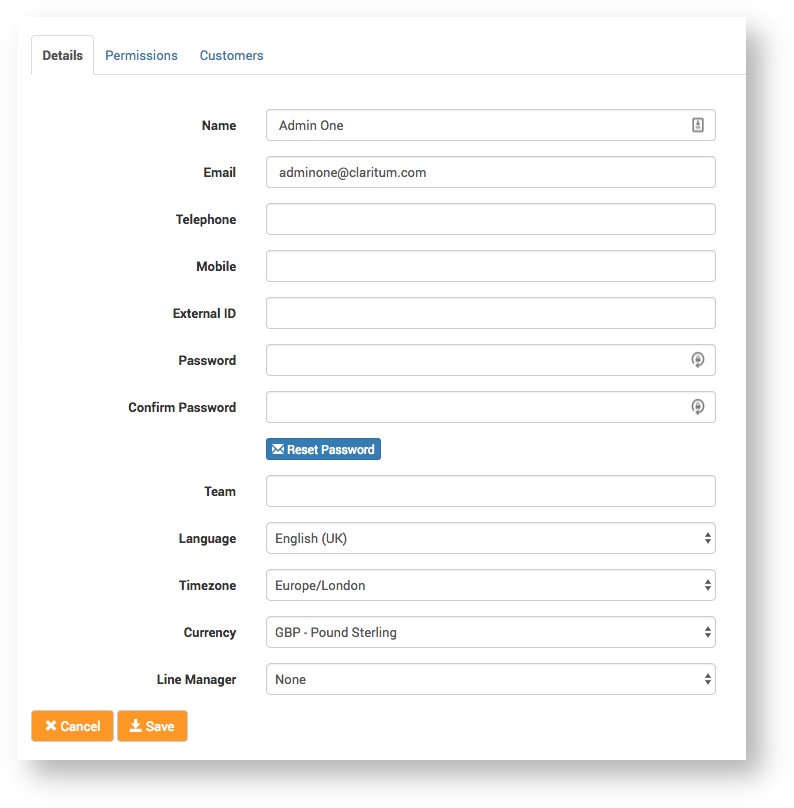
The only mandatory field is Email. The other fields are to be completed at the discretion of the Service Provider. Some fields will be useful to one Service Provider, but not another. Fields can be easily edited after a Customer is created. The only two non-obvious fields should be Team and Currency.
| Field | Description |
|---|---|
| Team | A Service Provider can create 'teams' of Claritum system Administrators within their organisation. A 'team' is comprised of Administrators who can view and work on Projects assigned to other Administrators within the same 'team'. A 'team' is created by assigning the same Team name to two or more Administrators in the Details page form shown above. |
| Currency | The Service Provider can choose the currency they want to be used on the system for each Administrator. |
Permissions
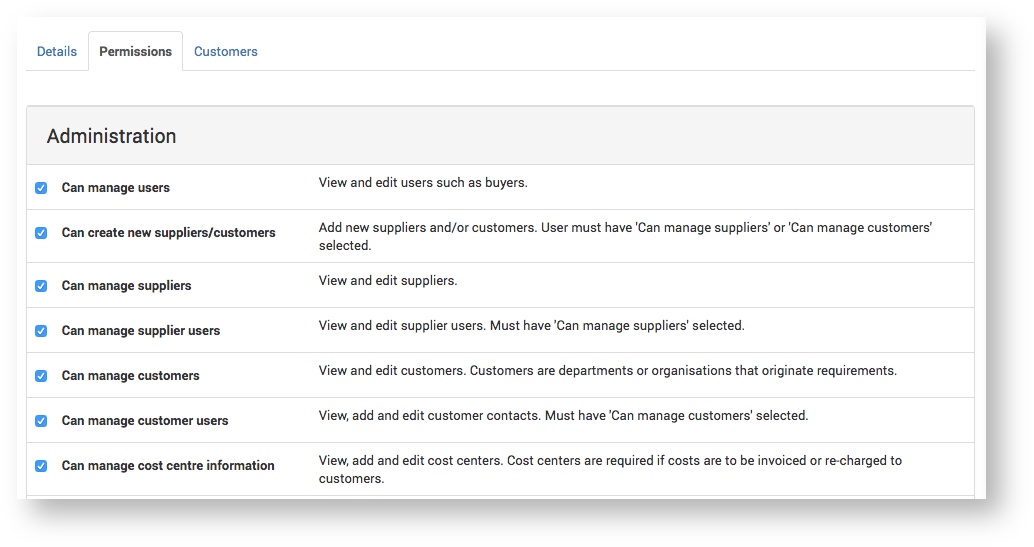
This is where you can configure the various Administrator functions (what the Administrator can and can't do in the system).
Click the checkbox to select / deselect the function and click the Save button.
Administration
The Administrator functions are also described in full detail on the Permissions page itself.
Customers
This is where you can specify which Customers the Administrator has access to.
Customers can be searched for, added and removed.
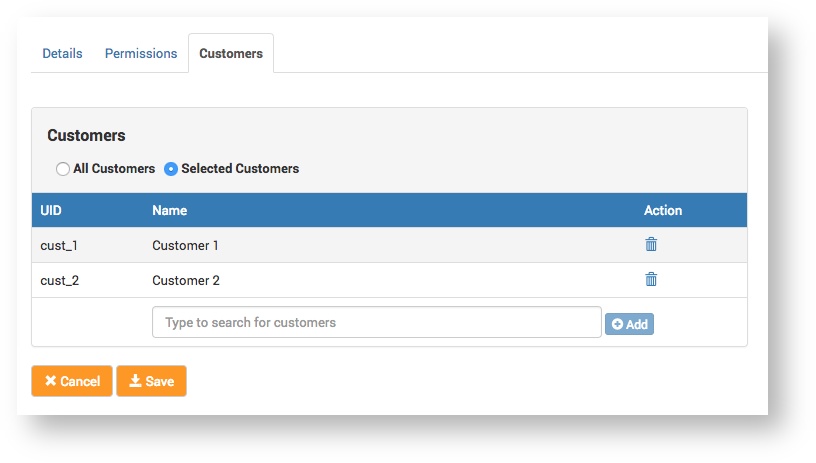
| Option | Description |
| All Customers | If you select this option and click Save, the Administrator will be able to see and administer all Customers in the system. |
| Selected Customers | If you select this option and click Save, the Administrator will be able to see and administer only those Customers added here. |
Add a Customer
- Start typing the Customer name in the input field. When the name appears, select it.

- Click the Add button.
- Click the Save button.
Delete a Customer
- Click the delete icon
next to the Customer.
- Click the Save button.